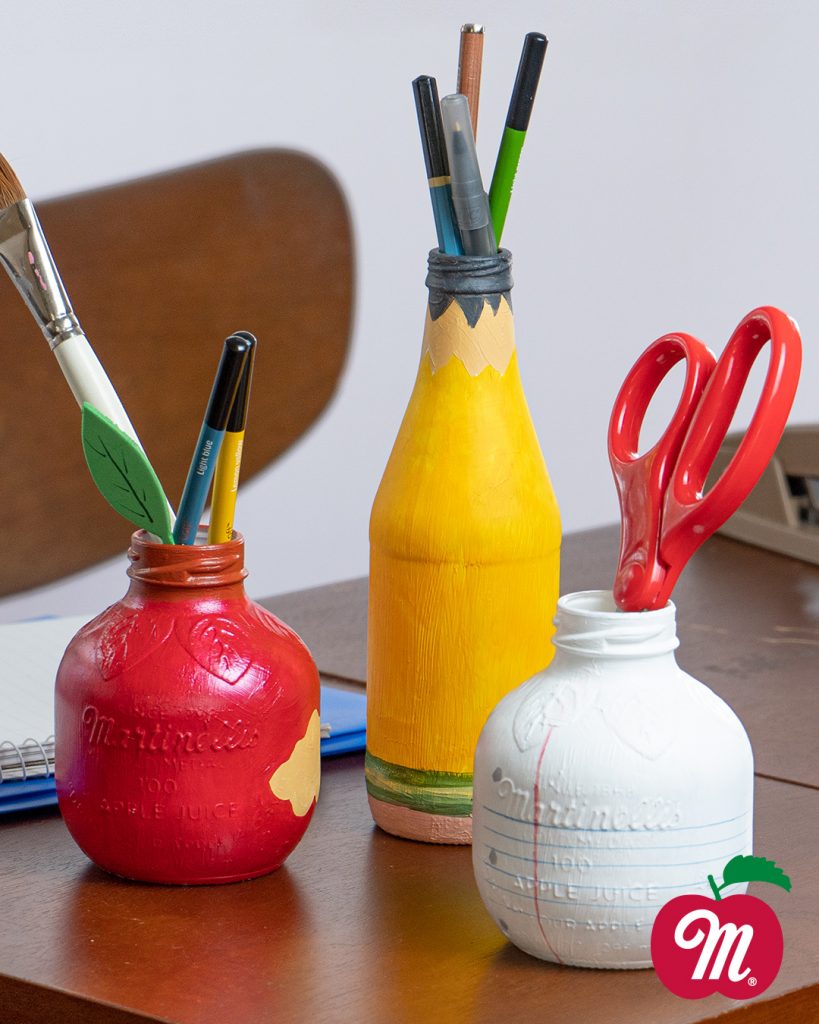
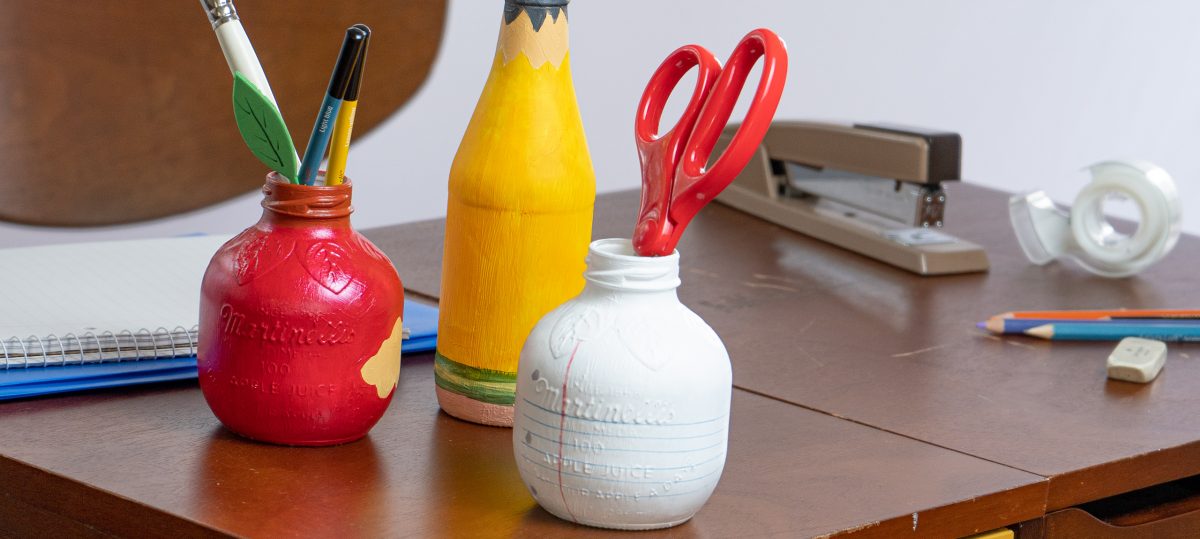
Tis the season to go back to Fall learning! This fun DIY craft will spruce up any learning workspace and hold your supplies too! Make a fresh apple, newly sharpened #2 pencil, or notebook paper. Pro tip: design all three for extra credit and enjoy a colorful space to help inspire new ideas.
Step 1: Clean
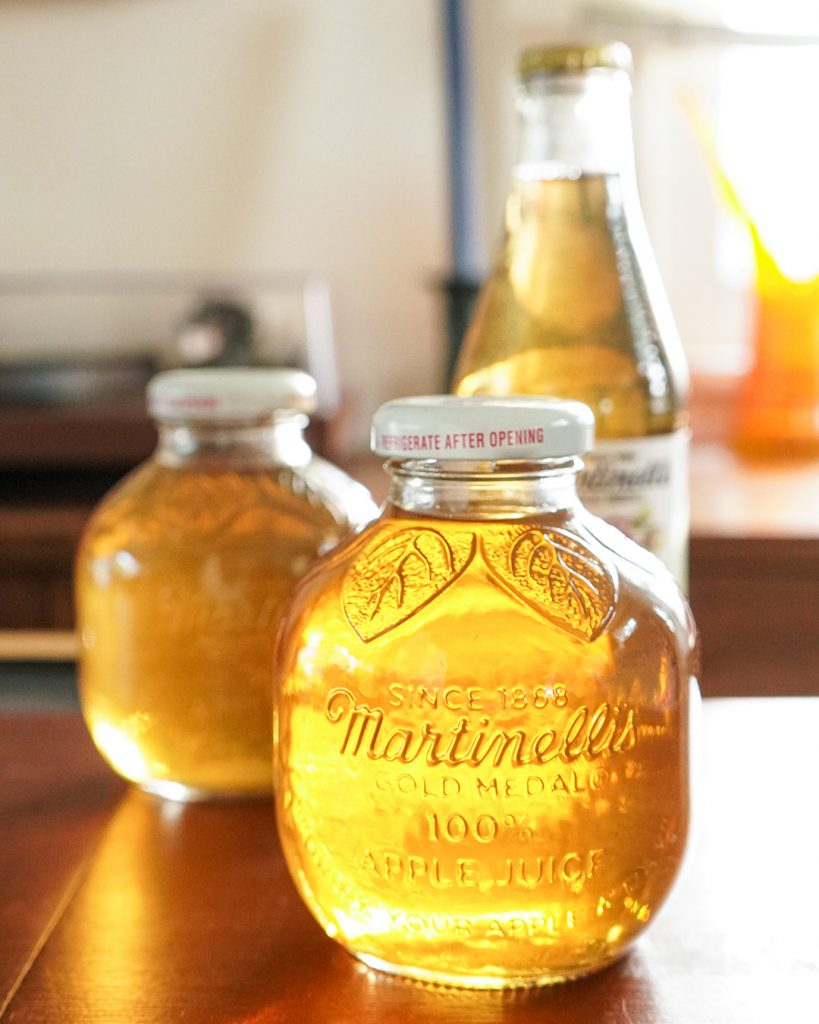
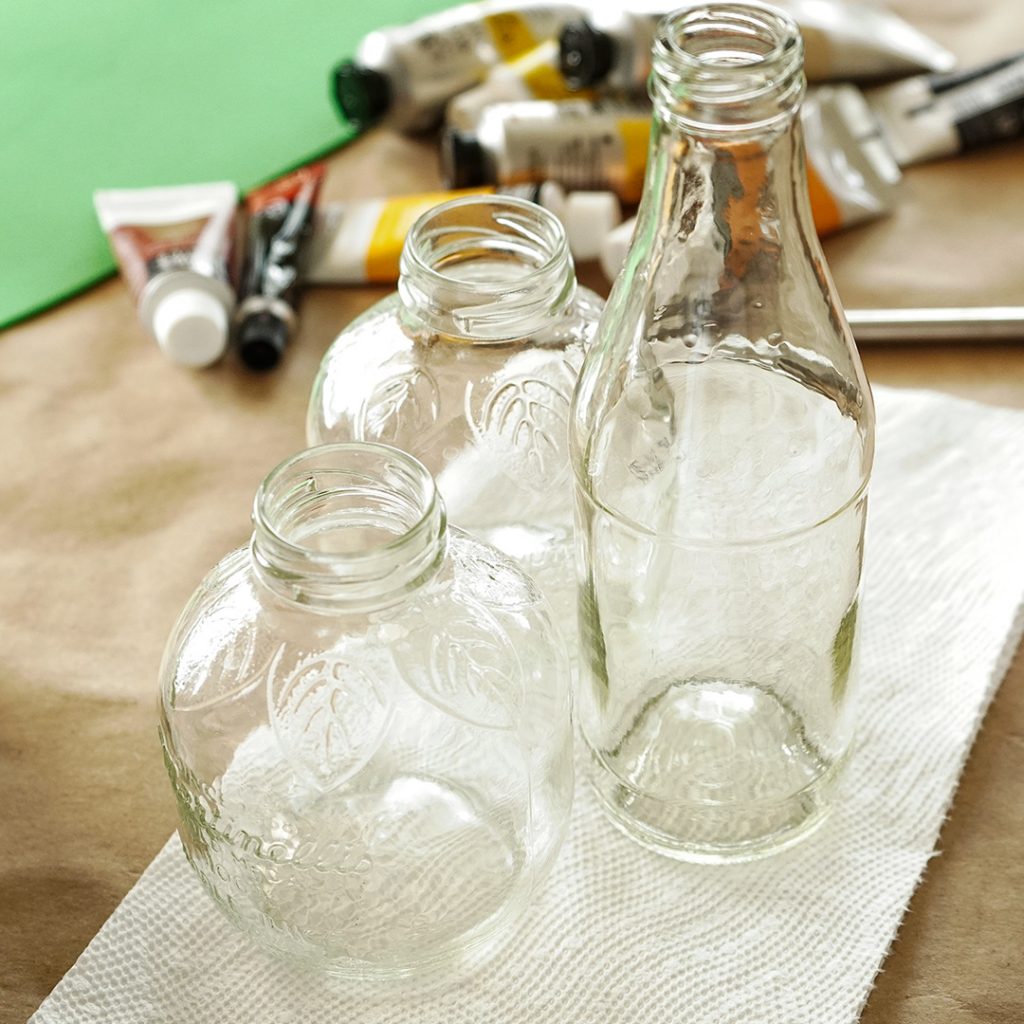
Enjoy a refreshing bottle of 10 oz. Martinelli’s Apple Juice in a glass bottle or 10 oz. Sparkling Apple Juice before crafting! As necessary, remove the bottle label by soaking it in warm water. Then rinse the bottles and let dry fully.
Step 2: Paint
All Bottles
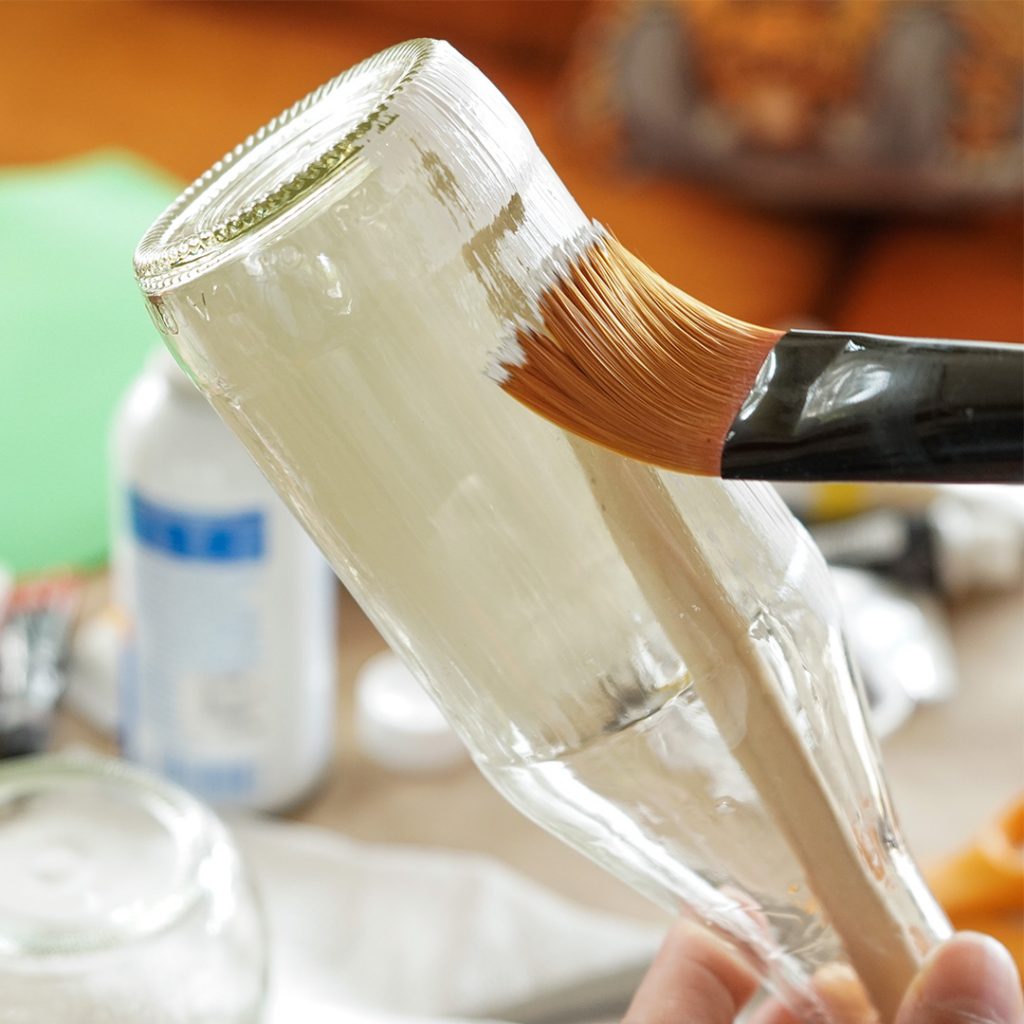
Start by painting each bottle white to create a clean canvas and let dry.
Bitten Apple Bottle
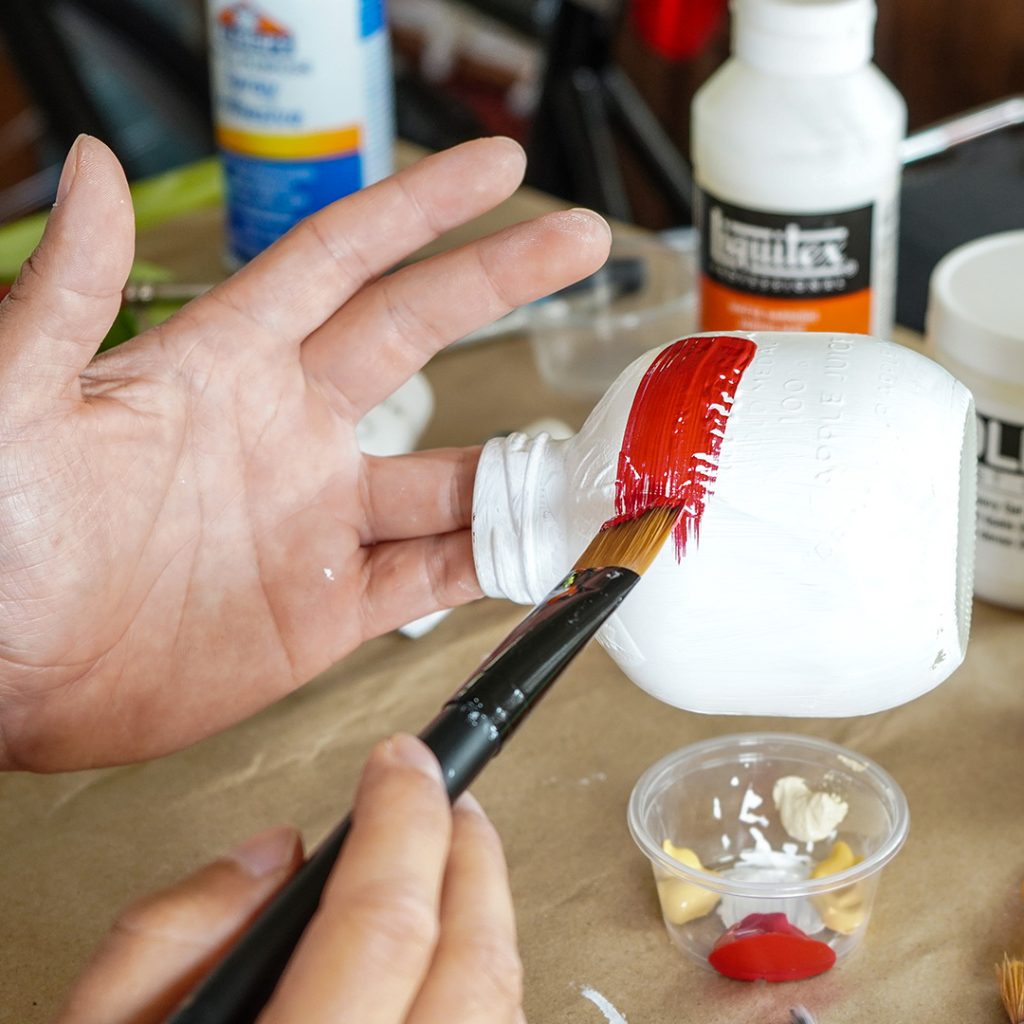
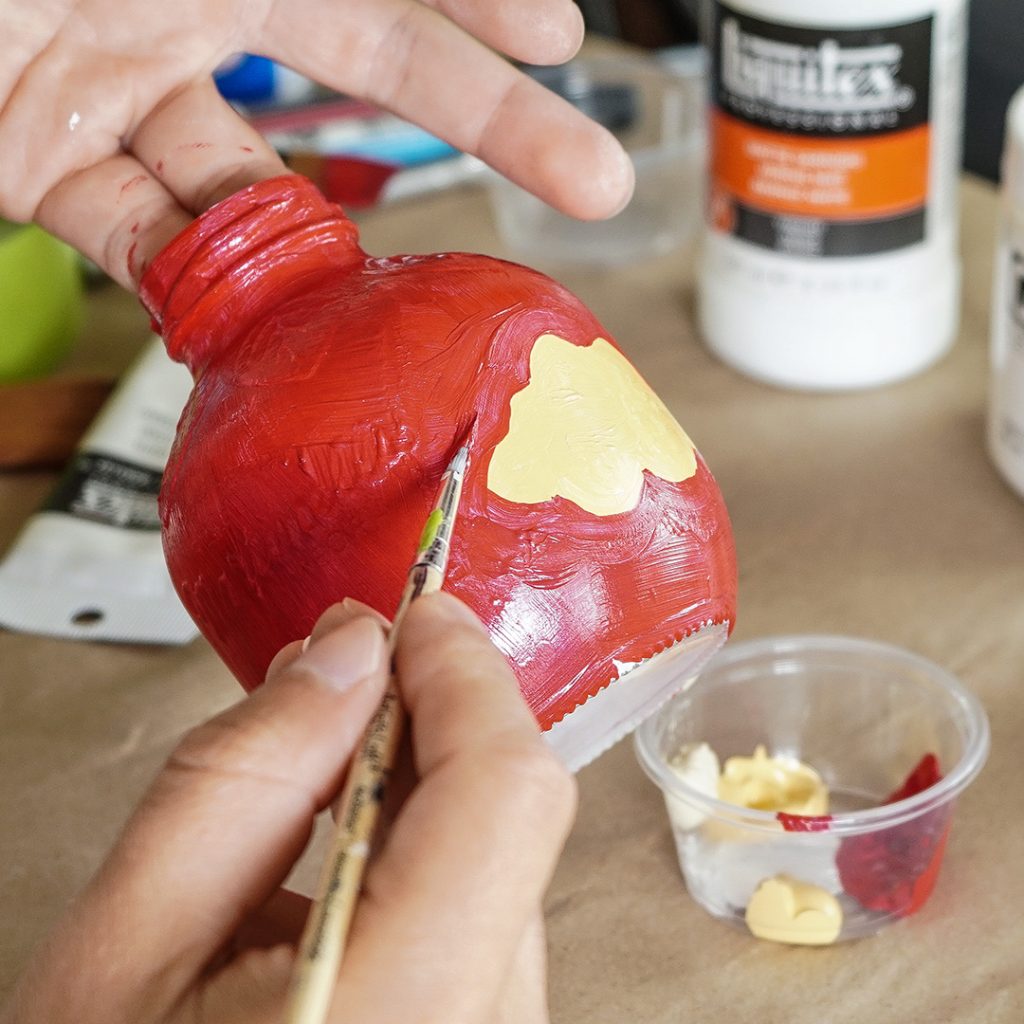
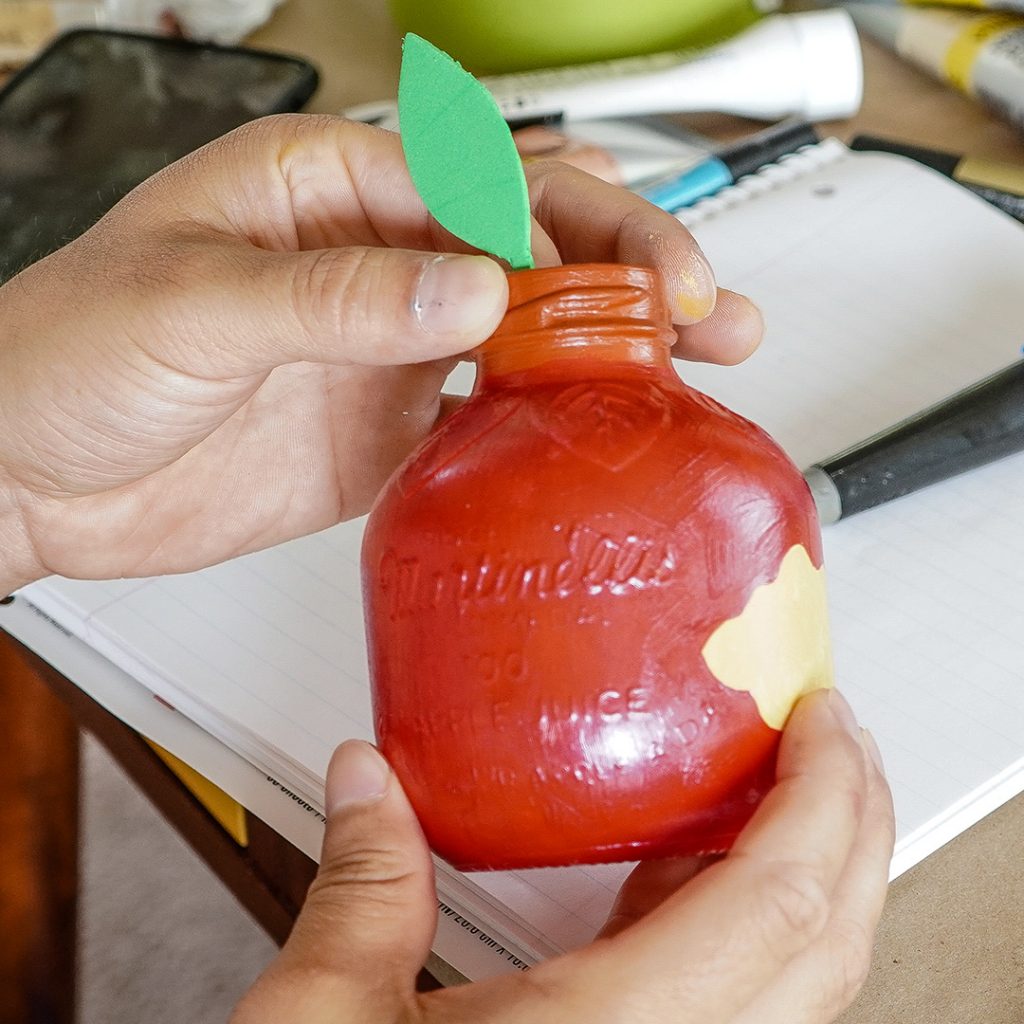
Next, use a neutral color to paint a bite mark if you’d like, as big or little as you’d like! Then paint the rest of the bottle red (or really any variety of apple colors you prefer as they come in so many delicious varieties). Finish your painting with a little brown stem on the rim of the bottle.
Pencil Bottle
Next, paint the middle of your bottle yellow right to the ridge at the bottom of the bottle and halfway up the neck at the top of the bottle. Now make a little zig-zag on the paint close to the top so that it will look like it’s freshly sharpened!
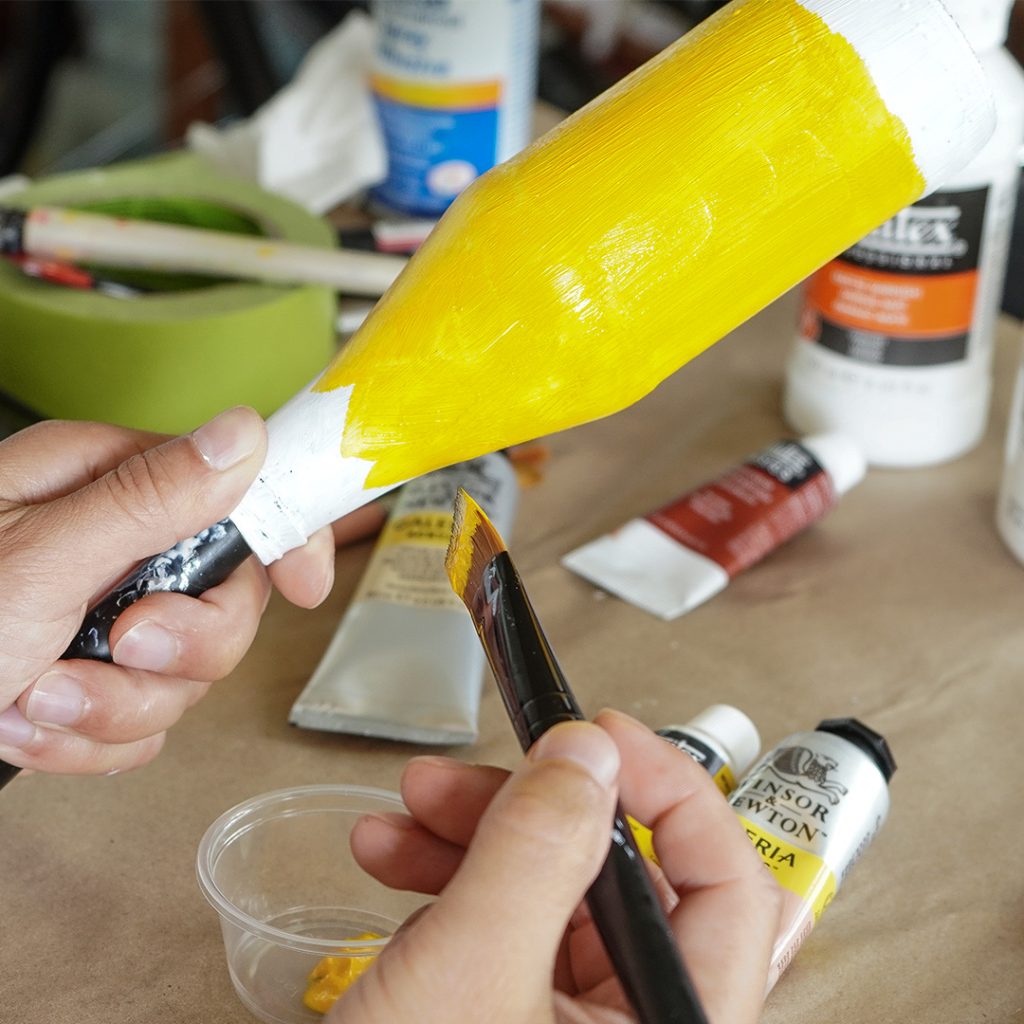
Paint the next section at the top of the bottle a light wood brown, followed by a dark gray or black paint for the top tip of the pencil.
To create the eraser end, paint the bottom of the bottle a light pink for the eraser and add a green line between the yellow and pink. For a little extra pizzaz, mix gold and green to give it a metallic look!
Notebook Paper Bottle
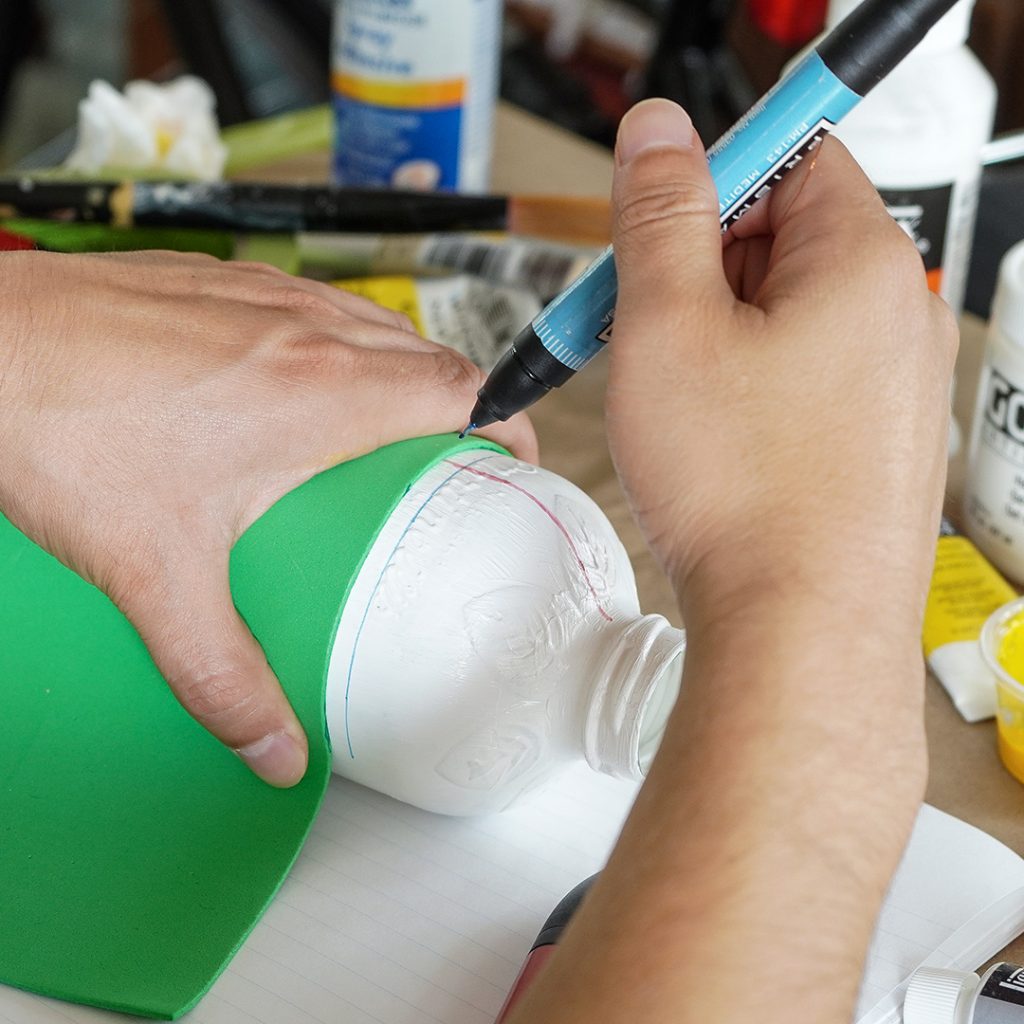
Next, use a marker to draw the blue paper lines around the circumference of your bottle. Tip: you can use a piece of paper and wrap it around the bottle to get a straight line. Now use a red marker to create the vertical paper line near the ‘edge’. To the left of the red line, paint three-hole punch marks in grey to finish your look.
Step 3: Add a Leaf
Bitten Apple Bottle
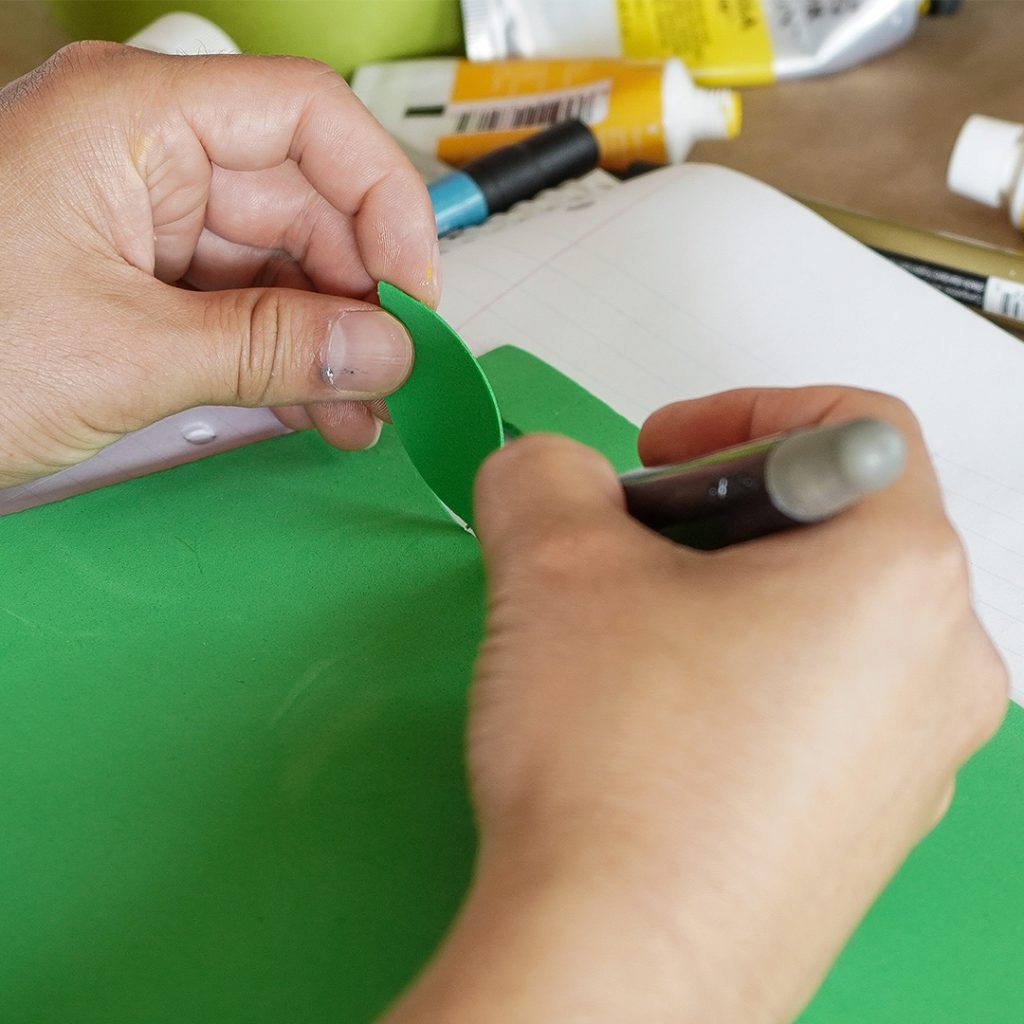
Finally, use scissors to cut a leaf shape out of green construction or foam paper, attaching to the inside of the stem with a hot glue gun to finish your look!


Post a Comment